

How to set up Azure PowerShell Module in VSCode on Linux in 3 simple steps.


How to set up Azure PowerShell Module in VSCode on Linux in 3 simple steps.
Recently, I decided to switch my entire operating system to Linux without creating a partition. As a user of Microsoft and Azure technologies, leaving the Windows ecosystem can be a daunting task especially when you need to use some Windows tool like PowerShell etc.
In this tutorial, I will attempt to set up running the Azure PowerShell module in VSCode on your Linux operating system. I am using Ubuntu 20.04.
Step 1: Install PowerShell using the terminal
The latest PowerShell module is version 7.1. However, this is not available on some Linux distributions. In this case, you can use the Sudo snap package - https://docs.microsoft.com/en-us/powershell/scripting/install/installing-powershell-core-on-linux?view=powershell-7.1#snap-package
For Ubuntu, you can either install using the package repository or using the direct download method.
Installation via package repository
sudo apt-get update
sudo apt-get install -y wget apt-transport-https
wget -q [https://packages.microsoft.com/config/ubuntu/20.04/packages-microsoft-prod.deb](https://packages.microsoft.com/config/ubuntu/20.04/packages-microsoft-prod.deb)
sudo dpkg -i packages-microsoft-prod.deb
sudo apt-get update
sudo add-apt-repository universe
sudo apt-get install -y powershell</span>
Installation via direct download
Download the Debian package powershell_7.1.0-1.ubuntu.20.04_amd64.deb from the releases page onto the Ubuntu machine.
Then run these commands in the terminal.
sudo dpkg -i powershell_7.1.0–1.ubuntu.20.04_amd64.deb
sudo apt-get install -f</span>
To confirm installation, run this command pwshin the terminal. This will bring you to the PowerShell command tab.
Step 2: Install the PowerShell Extension in VSCode.
Navigate to the Extensions tab of VSCode and search for PowerShell published by Microsoft. Install this extension.

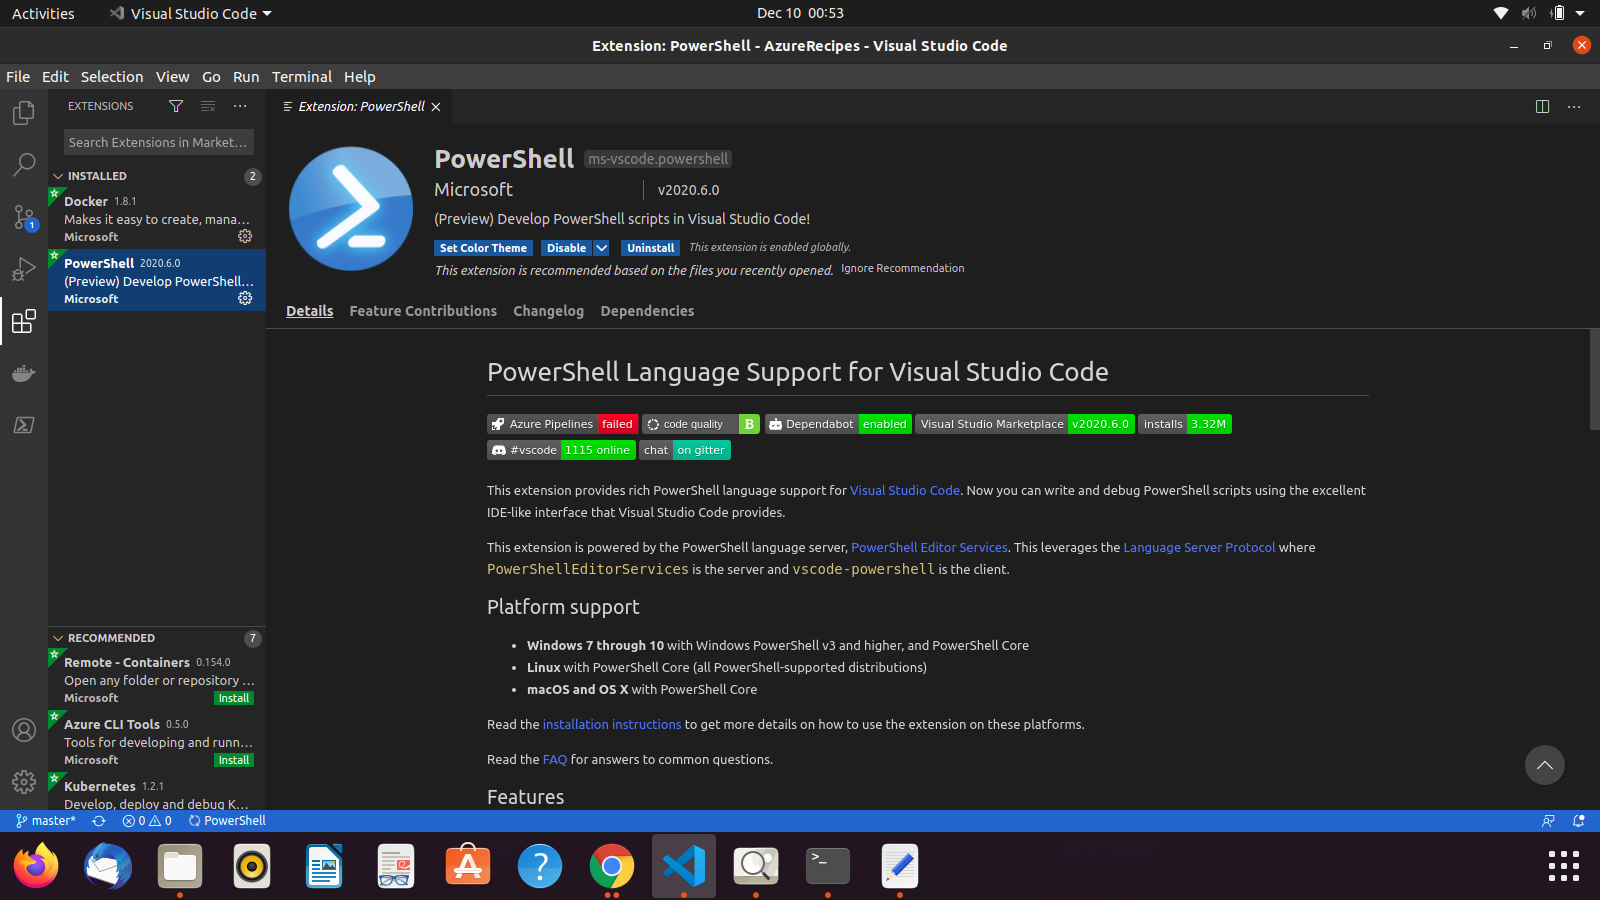
PowerShell extension for VSCode
Step 3: Install Azure PowerShell
Once you have completed the step above, open the VSCode terminal and run the command below
Install-Module -Name Az -AllowClobber -Scope CurrentUser</span>
By default, the PowerShell gallery isn’t configured as a trusted repository for PowerShellGet. The first time you use the PSGallery you see the following prompt:
Untrusted repository
You are installing the modules from an untrusted repository. If you trust this repository, change
its InstallationPolicy value by running the `Set-PSRepository` cmdlet.</span><span id="9f73" class="dw jz iq fi ka b dg km kn ko kp kq kc s kd">Are you sure you want to install the modules from ‘PSGallery’?
[Y] Yes [A] Yes to All [N] No [L] No to All [S] Suspend [?] Help (default is “N”):</span>
Answer Yes or Yes to All to continue with the installation.
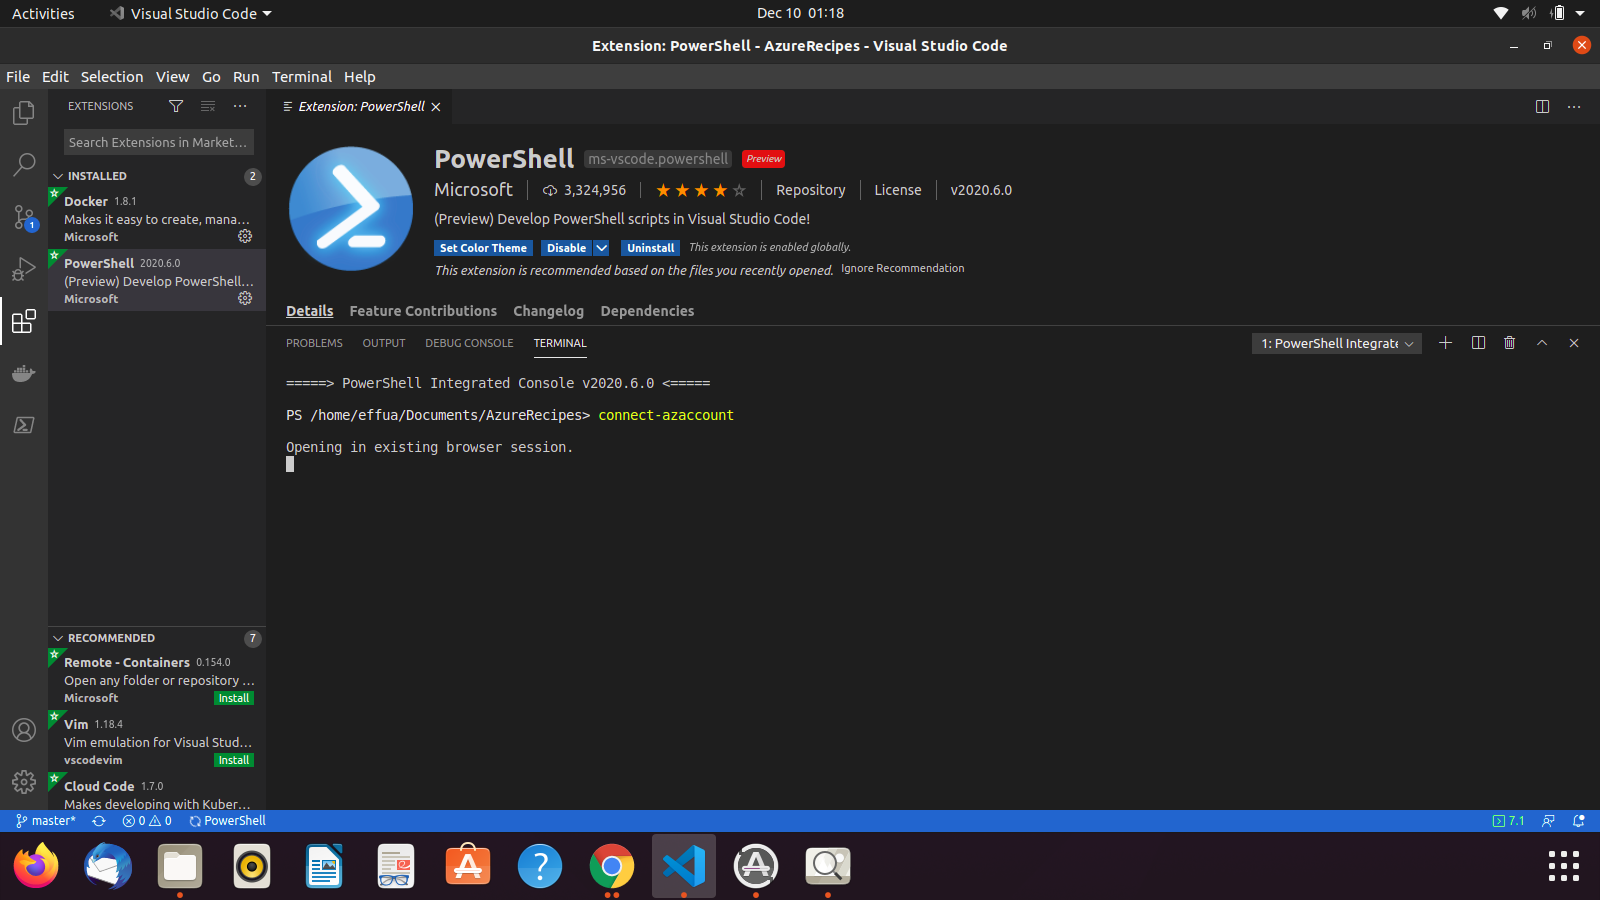
To confirm installation, run Connect-AzAccount. You will be redirected to your browser screen to enter your Azure Credentials.
That’s it, guys. You can now use Azure PowerShell in VSCode.
Note: If you have any feedback on my work, please drop a comment below or reach out on Twitter @devylawyer.