

Building Custom Machine Image using Ansible, Packer and Bash in AWS


Building Custom Machine Image using Ansible, Packer and Bash in AWS
In this tutorial, we are going to create a custom machine image on AWS containing an already deployed NodeJs application. This machine image can be used to provision an EC2 instance running a Nodejs application.
This will involve automation with Ansible playbook, Packer and Bash.
Prerequisites
- AWS account
- Knowledge of Git/Github
- Bash
- Packer
- Ansible
Packer built by HashiCorp is a modern configuration management tool employing the use of automated scripts to install and configure the software within your Packer-made images. You can configure Packer images with an operating system and software for your specific use-case. Packer contains different blocks necessary to successfully build an image such as:
a) Variables — This determines the environment variables Packer will use for your AWS account. It contains the AWS access key and secret key. This region must match the region where the AMI will be created.
b) Builders — This creates an AMI that’s based on a specified size of Ubuntu image with Elastic Block Storage (EBS).
c) Provisioners — This builds out your instances with specific scripts or files.
Ansible is an automation tool that uses YAML, in the form of Ansible Playbooks that allow you to describe your automation jobs in a way that approaches plain English. Playbooks can finely orchestrate multiple slices of your infrastructure topology, with very detailed control over how many machines to tackle at a time. Each playbook is composed of one or more ‘plays’ in a list. The goal of a play is to map a group of hosts to some well-defined roles, represented by things ansible calls tasks.
Now that we have defined some technologies, let’s dive in.
Packer Installation
Ubuntu
curl -fsSL [https://apt.releases.hashicorp.com/gpg](https://apt.releases.hashicorp.com/gpg) | sudo apt-key add -
sudo apt-add-repository “deb [arch=amd64] [https://apt.releases.hashicorp.com](https://apt.releases.hashicorp.com) $(lsb_release -cs) main”
sudo apt-get update && sudo apt-get install packer
Mac OS
brew install hashicorp/tap/packer
Windows if you are using Chocolatey
choco install packer
Ansible Installation
Ubuntu
$ sudo apt update
$ sudo apt install software-properties-common
$ sudo apt-add-repository --yes --update ppa:ansible/ansible
$ sudo apt install ansible
Guide on installing Ansible on Mac and Windows can be found here
Create a Machine Image with Ansible and Packer
a) Create a directory in your local computer and cd into it. Inside this directory, create a .env file that will contain your AWS access key id and secret key and region.
export AWS_ACCESS_KEY_ID=
export AWS_SECRET_ACCESS_KEY=
export AWS_REGION=
To create an access key,
- Sign in to the AWS Management Console as the root user.
- In the navigation bar on the upper right, choose your account name or number and then choose My Security Credentials.
- Expand the Access keys (access key ID and secret access key) section.
- Click Create New Access Key. If you already have two access keys, this button is disabled.
- When prompted, choose Show Access Key or Download Key File. This is your only opportunity to save your secret access key.
- After you’ve saved your secret access key in a secure location, click Close.
Clickhere for more information.
b) Create a subdirectory named packer and inside it create a file named template.json. The file should contain the script below
"variables": {
   "aws_access_key": "{{env `AWS_ACCESS_KEY_ID`}}",
   "aws_secret_key": "{{env `AWS_SECRET_ACCESS_KEY`}}",
   "aws_region": "eu-west-2"
   },</span> <span id="2d44" class="dz io ip fi iq b dg iv iw ix iy iz is s it">"builders": [
      {
         "access_key": "{{user `aws_access_key`}}",
         "secret_key": "{{user `aws_secret_key`}}",
         "ami_name": "devylawyer-image",
         "instance_type": "t2.micro",
         "region": "{{user `aws_region`}}",
         "source_ami_filter": {
           "filters": {
           "virtualization-type": "hvm",
           "name": "ubuntu/images/*ubuntu-xenial-16.04-amd64-                     server*",
         "root-device-type": "ebs"
       },
         "owners": ["099720109477"],
         "most_recent": true
       },
        "ssh_username": "ubuntu",
        "type": "amazon-ebs"
       }
     ],</span> <span id="5586" class="dz io ip fi iq b dg iv iw ix iy iz is s it">"provisioners": [
   {
      "type": "ansible",
      "playbook_file": "./ansible/ansible_playbook.yml"
    }
  ]
}
c) Create another directory named ansible. This directory will contain 2 files: _installansible.sh and _ansibleplaybook.yml. Put the below script in _installansible.sh
installAnsible () {
  sudo apt-get update -y
  sudo apt install software-properties-common -y
  sudo apt-add-repository ppa:ansible/ansible
  sudo apt-get update -y
  sudo apt-get install ansible -y
  }
In _ansibleplaybook.yml, paste the below
- hosts: all
remote_user: ubuntu
become_method: sudo
become: yes
vars:
  project_name: "Devylawyer's Blog"
  project_path: /home/ubuntu/devyapp
  sites_available: /etc/nginx/sites-available
  sites_enabled: /etc/nginx/sites-enabled
  sites_available_devylawyer: /etc/nginx/sites-available/devylawyer
  sites_enabled_devylawyer: /etc/nginx/sites-enabled/devylawyer
  PM2_PATH: $PATH:/usr/bin /usr/lib/node_modules/pm2/bin/pm2 startup    systemd -u ubuntu --hp /home/ubuntu/</span><span id="29fd" class="dz io ip fi iq b dg iv iw ix iy iz is s it">tasks:
  - name: Reset contents of apt list
    shell: |
       sudo rm -rf /var/lib/apt/lists/*
       sudo apt-get update
  - name: Get Nodejs gpg key
    apt_key:
      url: "https://deb.nodesource.com/gpgkey/nodesource.gpg.key"
      state: present
  - name: Install Nodejs version 10 binary
    apt_repository:
      repo: "deb https://deb.nodesource.com/node_10.x {{  ansible_distribution_release }} main"
      state: present
  - name: Install Node
    apt:
      name: nodejs
      state: present
  - name: Clone the repository
    git:
      repo: [https://github.com/ChiamakaObitube/devyapp.git](https://github.com/ChiamakaObitube/devyapp.git)
      dest: "{{ project_path }}"
  - name: Install node packages
    shell: |
      npm install nodejs
      npm install
    args:
      chdir: "{{ project_path }}"
  - name: Install nginx
    apt:
      name: nginx
      update_cache: true
      state: latest
  - name: Delete nginx default file
    file:
      path: "{{ sites_available }}/default"
      state: absent
  - name: Configure nginx server
    shell: |
       echo "
         server {
           listen 80;
             location / {
               proxy_pass [http://localhost:3000;](http://localhost:3000;)
               }
             }
             " > {{ sites_available_devylawyer }}
  - name: Update nginx symlink
    file:
      src={{ sites_available_devylawyer }}
      dest={{ sites_enabled_devylawyer }}
      state=link
  - name: Start nginx
    service:
      name: nginx
      state: started
  - name: Install pm2 to run app in background
    shell: npm install pm2 -g
  - name: Create pm2 start script
    shell: |
      cd /home/ubuntu/devyapp
      echo '
        {
           "apps": [{
           "name": "Devylawyer",
           "script": "npm",
           "args": "start"
          }]
        }
        ' > start_script.config.json
  - name: Start app with pm2
    shell: |
       cd /home/ubuntu/devyapp
       sudo pm2 start ./start_script.config.json
       sleep 10
       sudo pm2 startup
       sudo env PATH={{PM2_PATH}}
       sudo pm2 save
The playbook above will perform different tasks which will set up a NodeJs web app including all dependencies, configure an Nginx proxy server to make the app available to the internet, setup pm2to make the application always available even when the instance is restarted.
To build the image, create in a file in the root directory called build_image.sh
. .env
packer build packer/template.json
Now run this command
bash build_image.sh
The output will look like this
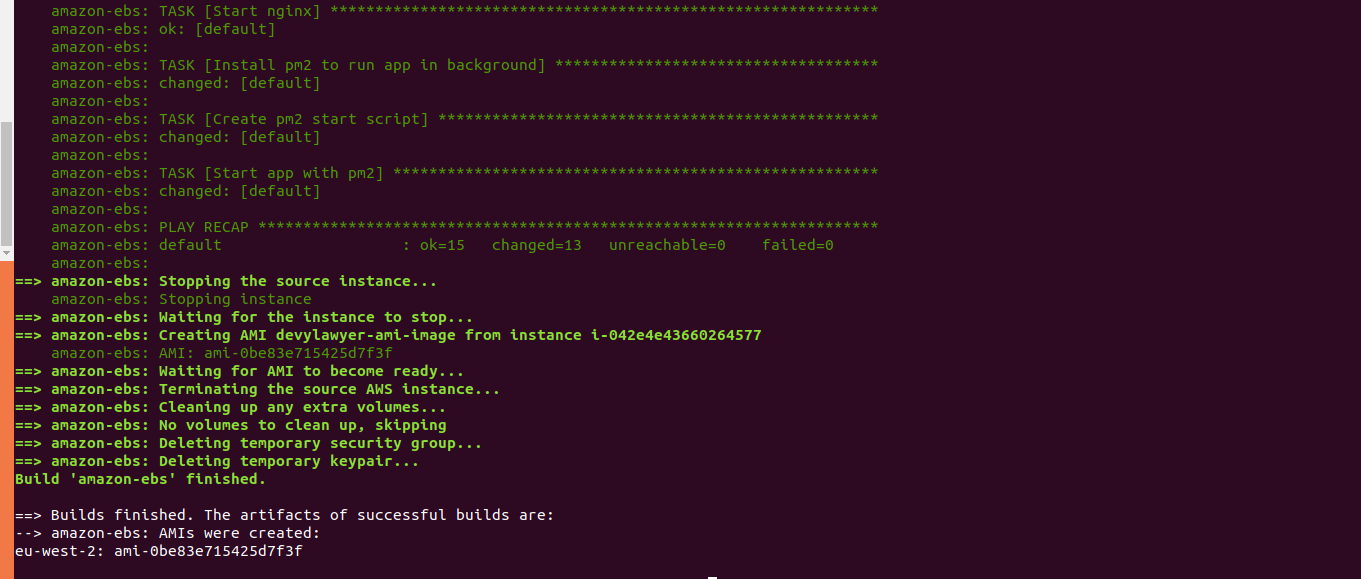
Successful build
Now, if we navigate to the EC2 dashboard our new AMI will be listed in the main window of the Images -> AMIs section.


Newly created AMI.
Now, we can launch an EC2 instance using the newly created AMI as our image. Click on Launch and create a security group that will allow traffic from all sources via the port.

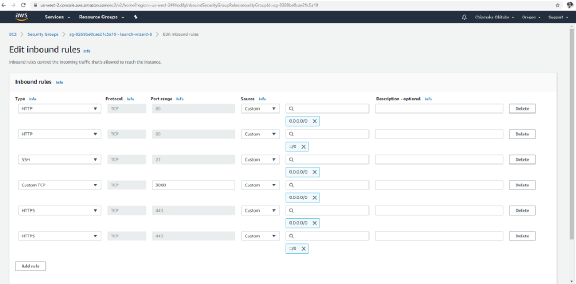
Choose a new or existing key pair and launch the instance. In some minutes, our newly provisioned EC2 instance will be up and running
Copy the public IP address of the instance and paste on the browser.
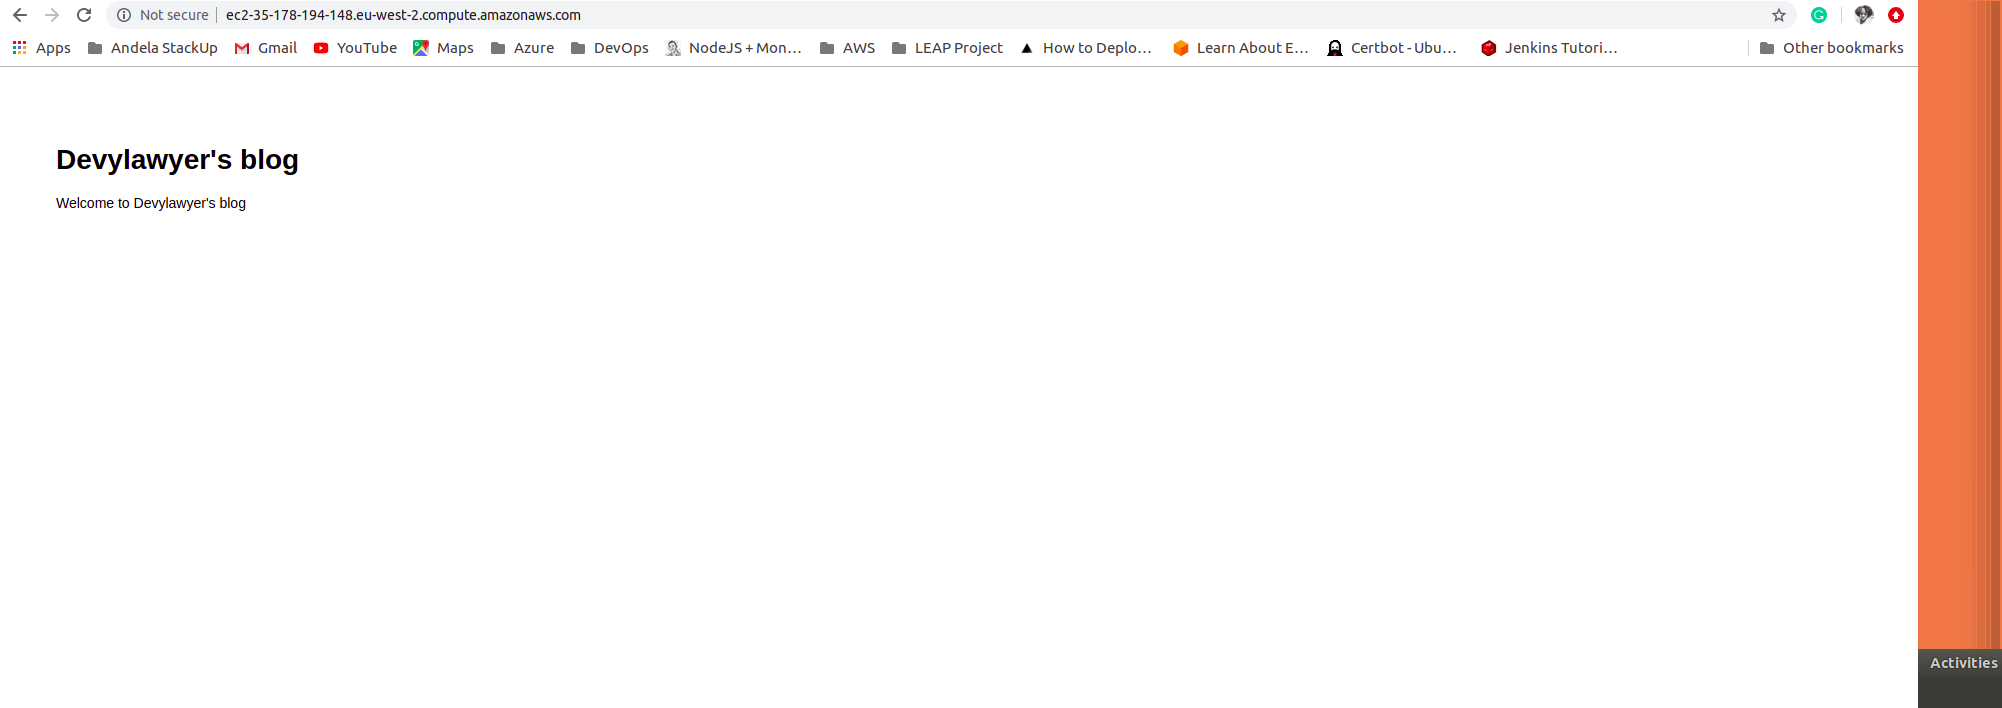
In conclusion, we were able to automate the process of building an AMI with our custom application running on it.
You can get the source code from https://github.com/chiamakaobitube/Automating-AMI.